The sterile environment
| Temperature range | 10–35°C |
| Optimum temperature | 20–30°C |
| Optimal pH | 5–6 (slightly acidic) |
| Oxygen requirement | Obligate aerobe |
| Primary carbon source | Glucose (most available) |
| Nitrogen preference | Organic (amino acids) |
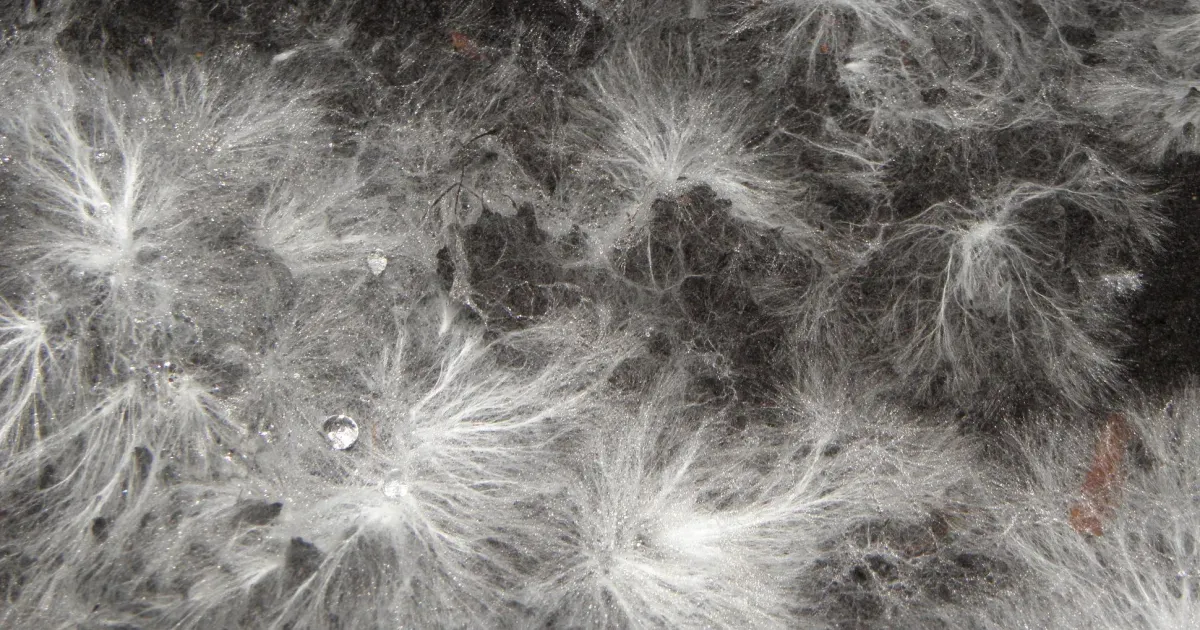
Fungal mycelium grows exclusively at the hyphal tip — not along the length of existing hyphae. The growing tip is driven by an organelle called the spitzenkörper — a cluster of vesicles that feeds chitin synthetase to the tip, extending the cell wall forward. Septa (internal walls) have pores large enough for mitochondria to pass through, meaning the colony is interconnected rather than cellular in the animal sense.
Everything in mushroom cultivation comes down to one principle: your mycelium needs to colonise the substrate before anything else does. Contamination doesn't happen because you're unlucky — it happens because you gave competitors an opening. Sterile technique closes those openings.
You have two main options for creating a sterile workspace: a still air box (SAB) or a laminar flow hood. They operate on completely different principles and have different appropriate uses.
Still Air Box (SAB)
- A clear plastic tote with arm holes cut in the side
- Works by letting air settle — no turbulence = fewer airborne spores
- Cost: $10–20 in materials
- Setup: 10 minutes
- Works best: agar pours, grain inoculations, small transfers
- Limitations: arms break the still air; less reliable than a flow hood
- Best for: beginners, low-volume work, tight budgets
- Spray the inside with isopropyl and wait 10 minutes before working
Laminar Flow Hood
- A HEPA-filtered unit that pushes clean air across the work surface
- Works by creating positive pressure — contaminants blown away
- Cost: $400–800 for a decent unit; can DIY for ~$150
- Setup: mount on bench, turn on 10 minutes before working
- Works best: everything — agar, grain, bulk transfers
- Far superior success rates for agar work
- Best for: serious growers, agar isolation work, high volume
- HEPA filter must be replaced periodically — check the specs
Building a still air box
Get a large clear tote
60–110L is ideal. Clear lets you see what you're doing. The bigger the better — more air volume means slower air movement and longer work windows. Bunnings or IKEA totes work fine.
Cut arm holes
Two circular holes in the long side, shoulder-width apart, sized to fit your forearms comfortably (about 15cm diameter). A jigsaw or hole saw works. Sand the edges — you'll be pressing your arms against them for extended periods.
Use it correctly
Spray the inside with 70% isopropyl alcohol, let it settle for 10 minutes. Work slowly — sudden movements stir up air. Don't talk, cough, or breathe directly into the box. Flame-sterilise tools between each use. Keep the lid on when not working.